Recipes: Creating Flavorful Stocks
 Cooking stocks (aka broth) are one of my favorite cooking essentials. With it you can quickly add so much flavor to a dish. Where does all of that flavor come from and how do I make my own you ask? In this post I am going to share what cooking stocks are, how they are made and why they are used so much. I am also going to share my basic recipe so you can make your own!
I love cooking stocks because not only do they add flavor to recipes but they are also making something useful of scraps from other recipes. Stocks are typically made by taking a "base", a flavorful cooking material you can't eat. Common bases for cooking stocks are meat (so think left over bones, fat or shells) and vegetables (fresh ones or vegetable scraps).
By removing the flavor from an un-edible source and transferring it into water, that flavor can be applied to anything. I love to add stock to sauces, pastas, vegetables, rice, mashed potatoes, stuffing, to re-moisten dry meat and add it to really anything. They are used so much because they are so versatile! Even when I am not feeling well I will just heat up a cup. Cooking stock is also the starting point for making soup! Just add protein, vegetables and a starch and you have an awesome bowl of goodness.
What is the science and process behind cooking stocks? In bones and other animal bits there lies flavor just as there is flavor in the meat. The bones also contain other proteins like collagen that provide a great hearty mouth-feel to soups and dishes. To develop and enhance the flavor I will roast my base items in the oven. The heat applied caramelizes and deepens the flavors in the base. Next it is time to extract our developed flavors from our base by boiling the base in water. As the water and base commingle, the flavor from the base permeates the water creating our wonderful cooking broth. The final step is separating the base from the broth by straining out the un-edible bits. Now you have a flavorful liquid to use as you wish!
Stock Recipe: Below we will review my basic recipe to create your cooking stock and how to store it. Use my recipe as guide for amounts but not a rule. Check out my link below for the printable recipe too!

Recipe: Creating Flavorful Stocks
Servings: 6 cups
Time: 3 to 6 hours
Cost:~$10
Ingredients:
Meat base - chicken and beef bones/scraps are my favorites with onion, carrot and celery
- About 5 cups of meat scraps, 1 onion, 3 carrots, 4 stalks of celery
Veggie base - mixed vegetables and mushrooms
- About 10 cups of vegetables, example: 4 onions, 10 carrots, 1 bunch celery (~10 stalks)
Seasonings - herbs as desired, salt (1 tbspn) and pepper (1/2 tbspn)
Olive oil - 1/2 cup
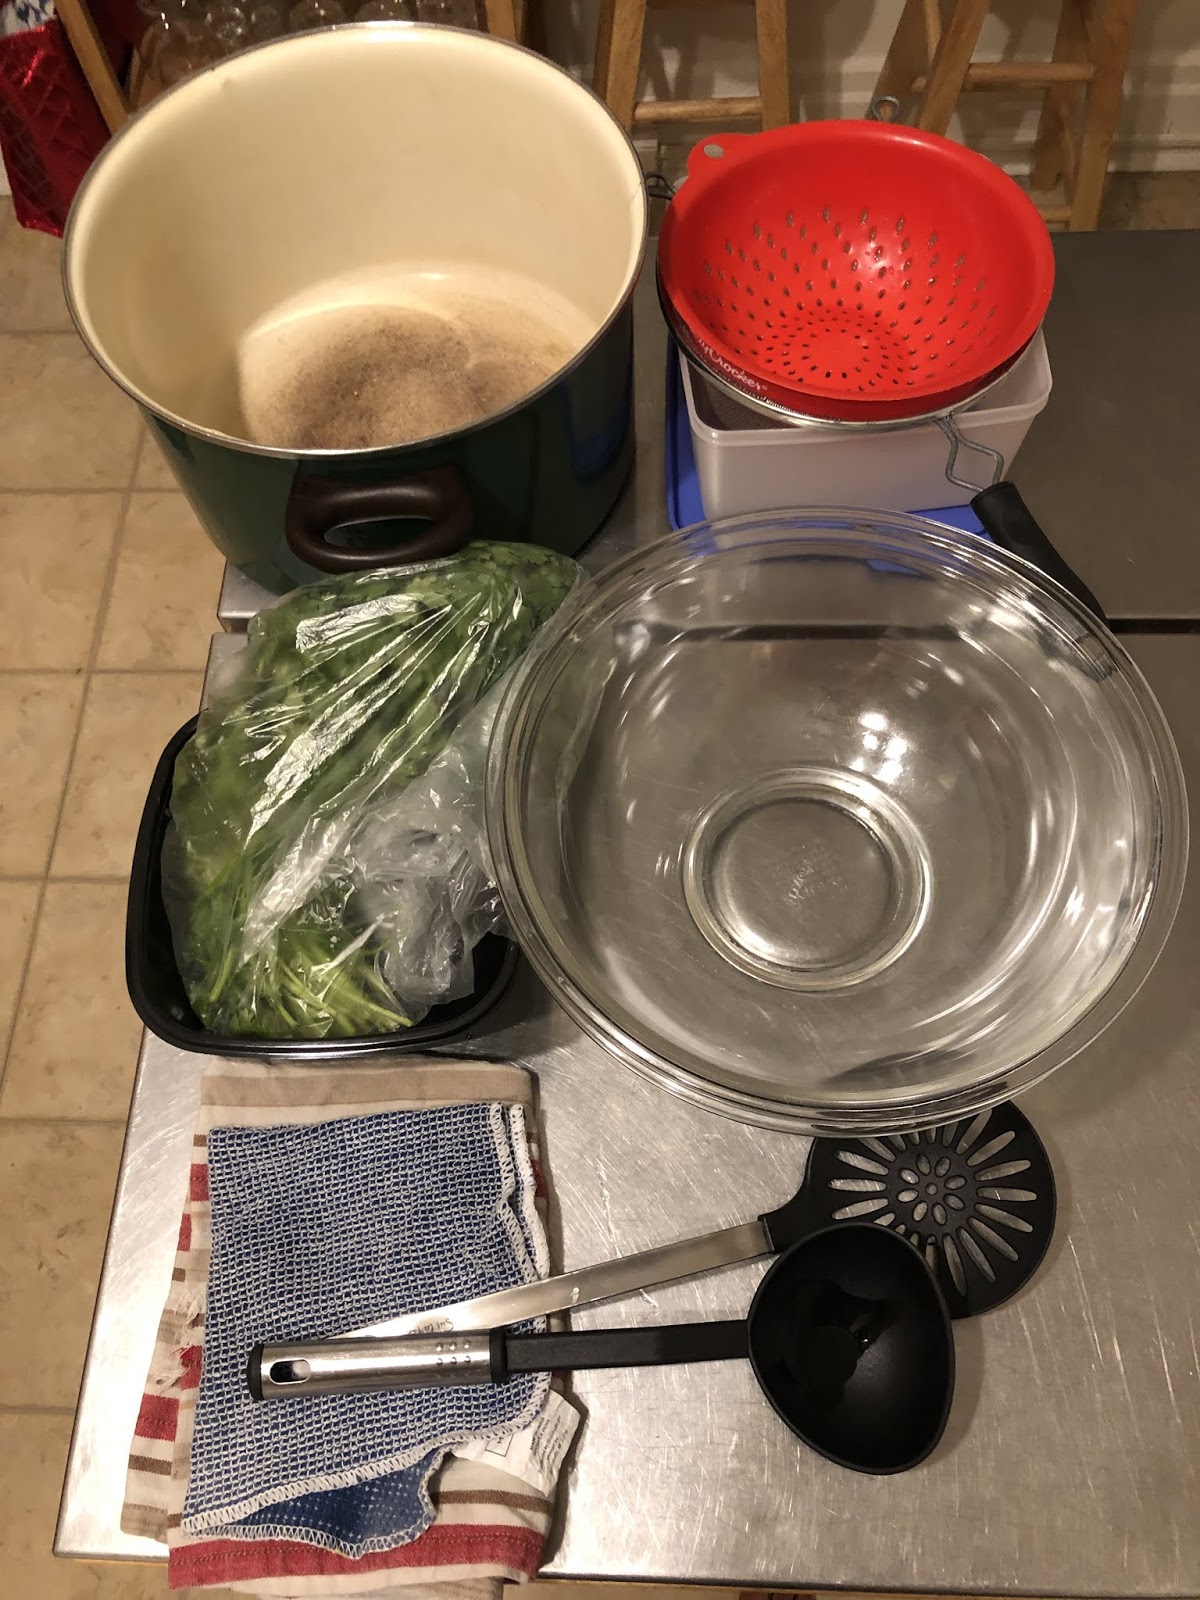
Large stock pot, ladle, mesh strainer, glass container with an opening larger than the size of your strainer, cheesecloth, cookie sheet, parchment paper. You will also need a storage vessel for your finished stock, I like 1/2 gallon glass jars and quart sized plastic bags. You can also freeze your stock into ice cubes then store in a gallon bag to use as needed.
 Instructions:
1. Prep your base, cut your base items into 1 inch chunks if possible. Sprinkle with salt, pepper and olive oil.
2. Roast your base on the cookie sheet lined with parchment paper. Use the time below as a guide, checking them every 30 mins to an hour. Stop roasting if the items are burning.
- Uncooked bones, uncovered, on 350F for about 3 hours
- Cooked bones, uncovered, on 350F for 2 hours
- Split Chicken Breasts (photos), roast for 1.5 hours covered, 30 minutes uncovered. Separate the meat out from scraps and vegetables. Save meat for use over the week. Roast scraps and vegetables for additional 1 hour uncovered.
- Vegetables, uncovered, on 350F for 1 hour
3. Put your roasted base into the stock pot and cover with water plus about 1 inch. Set heat to a medium boil.
- Boil bones for 3 to 5 hours, with the lid on for the first 2 hours, then remove the lid for the remaining hours
- Boil vegetables for 1 hour, with the lid off
Note: the stock will reduce, if needed reduce the stock to the volume of your extra container
4. As the stock cooks, put the mesh strainer over your pot and ladle the stock into the strainer so the stock goes back into this pot. Do this until the larger materials are caught in the strainer and can be removed from your stock. Discard the used base materials.
5. Add desired spices and additional seasoning at this time.
6. Turn the heat off on the stove. Rinse your metal strainer of any material. Put the rinsed strainer into the extra container. Lay a layer of the cheese cloth into and over the metal strainer. This will strain the smaller bits out of the stock. Ladle the stock through the cheesecloth/mesh strainer into the extra container.
7. Cover your stock and let cool for an hour or so then store in a glass container or freeze into quart bags for future use.
Note: If you want to freeze your stock into ice cubes then reduce the stock further after straining. I would reduce it to a volume of 2 cups, then freeze into ice cubes. Store cubes in a gallon bag in the freezer for safe keeping.
Thanks for reading! I hope you enjoy your cooking stock! Share in the comments what you made your stock from and how you used it.
Link to Download Recipe via Google Docs